


How to Winterize Garage Doors: Tips for Getting Your Garage Doors Winter-Ready

Key Takeaways
1. Winterizing your garage door helps maintain indoor warmth, reduce heating bills, and protect stored items from cold, moisture, and pests.
2. Key steps include sealing gaps, upgrading insulation, replacing worn-out weatherstripping, and lubricating moving parts to keep the door functioning efficiently in cold weather.
3. Raynor Door Authority provides the products, expertise, and professional services needed to properly winterize or replace your garage door for reliable performance all winter.
Critical Steps to Winterize Garage Doors
Winterizing your garage door is essential to keep cold air out, protect stored items, and reduce heating costs. A properly sealed and insulated garage door makes your home more energy-efficient and prevents weather-related damage.
Here are the most important steps to winterize your garage doors:
1. Inspect the Door for Damage
Check for cracks, warping, or worn-out panels. Any structural damage can make insulation less effective and let cold air in.
2. Add or Upgrade Insulation

Use garage door insulation kits or rigid foam board to line the inside of the panels. Choose materials with a high R-value for better thermal resistance.
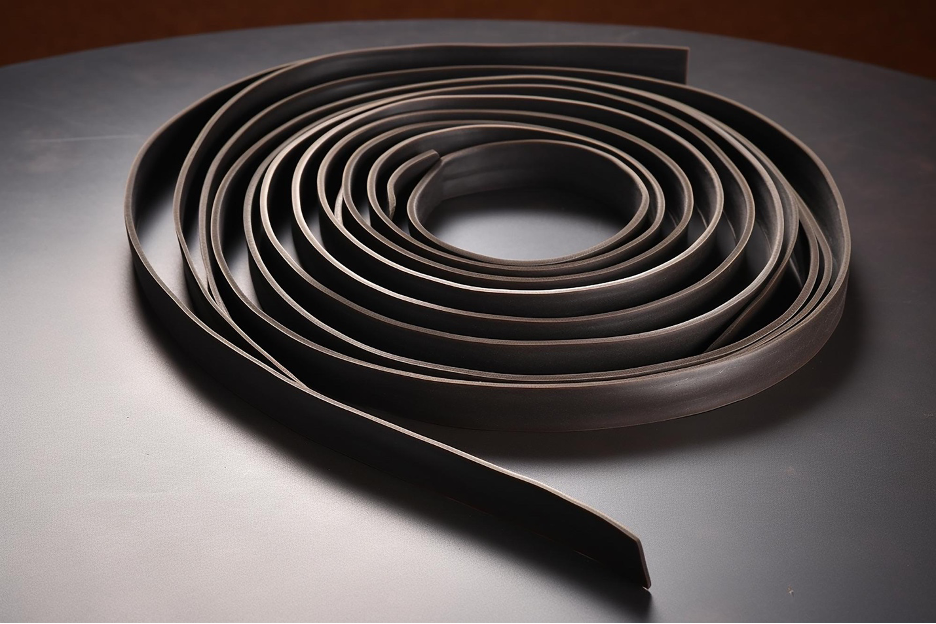
3. Replace or Install Bottom Seals
Look at the rubber seal at the base of the door. If it’s cracked, missing, or stiff, replace it to block out drafts, snow, and pests.
4. Apply Weatherstripping
Seal the sides and top of the garage door frame with vinyl or rubber weatherstripping. Press tightly against the door to eliminate any gaps.
5. Seal Gaps and Cracks with Caulk

Use exterior-grade caulk around the frame, window edges, and any visible cracks. For wider gaps, add a backer rod before caulking.
6. Install a Threshold Seal

Place a threshold seal on the garage floor to create an additional barrier. It works especially well for uneven floors or large gaps under the door.
7. Insulate Electrical Outlets and Switches
Use foam gaskets behind outlet covers and switch plates to prevent heat loss through small wall openings.
8. Lubricate Moving Parts
Cold weather can stiffen hinges, springs, and tracks. Apply a silicone-based lubricant to keep parts moving smoothly all winter.
9. Test the Door Function
Once sealed and insulated, open and close the door a few times. Make sure nothing is obstructing movement and the seals sit flush.
Taking these steps before winter hits ensures your garage door performs efficiently in freezing conditions. A few hours of prep can prevent costly repairs and lower your utility bills.
What Does Winterizing a Garage Door Achieve?
Winterizing a garage door improves energy efficiency, protects your belongings, and helps extend the life of the door. It prevents cold air from entering your garage and keeps warm air from escaping, reducing strain on your home’s heating system.
A winterized door also blocks moisture, snow, and pests from getting inside. This protects items like tools, vehicles, and stored equipment from rust, freezing, or damage. Proper sealing and insulation reduce wear on door parts caused by ice buildup or temperature swings.
Overall, winterization leads to:
- Lower heating bills
- Better temperature control
- Longer-lasting garage doors
- Safer storage conditions during cold months
Raynor Door Authority has everything you need, from weather-stripping and insulation kits to full door replacements. Our team offers expert advice, professional installation, and high-quality products built to handle harsh winters.
Contact Raynor Door Authority today to get your garage ready for the season.
When to Call a Professional for Garage Winterization
You should call a professional when winterizing your garage becomes more than a simple DIY project. If you notice structural issues, outdated equipment, or persistent air leaks after sealing, expert help can save you time and long-term costs.
Signs you need professional assistance include:
- Warped or damaged garage door panels
- Aging or malfunctioning garage door opener
- Insulation that won’t stay in place or doesn’t fit properly
- Gaps or drafts that remain after weather-stripping and caulking
- Broken seals or rusted door tracks
A professional can also assess whether a full garage door replacement is more effective than piecemeal repairs.
Raynor Door Authority offers full-service winterization, including inspection, sealing, and door replacement if needed. Our technicians are trained to spot issues homeowners often miss.
Schedule a winterization checkup with Raynor Door Authority today to keep your garage warm, efficient, and protected all winter.
Keep the Cold Out and Comfort In with a Winter-Ready Garage Door
Winterizing your garage door protects your home from heat loss, keeps stored items safe, and helps your door perform better in freezing temperatures. Taking the time to seal gaps, upgrade insulation, and lubricate parts can save you money on energy bills and prevent costly winter damage.
At Raynor Door Authority, we offer everything you need to winterize your garage—from top-quality weather-stripping and insulation kits to full door replacements. If your current door isn’t cutting it, we’ll help you find one that’s built for harsh winters and your home’s unique needs.
Next Steps:
- Inspect your garage door for drafts, damage, or poor insulation.
- Upgrade seals, insulation, and moving parts to boost efficiency before cold weather hits.
- Contact Raynor Door Authority for professional help or a full winterization service.
Don’t wait for freezing temps to take a toll. Get in touch today and make sure your garage door is ready for winter.