


Garage Door Opener Not Working? How to Fix It
Key Takeaways
1. Most garage door opener failures trace back to power, programming, or the safety sensor circuit, and all three take minutes to check.
2. An opener problem and a door problem are different repairs, and the manual release test tells you which one you have.
3. Raynor Door Authority technicians test the opener and the door as one system, so you get a single diagnostic visit instead of a string of guesses.
Is the Fault in Your Garage Door Opener or the Door Itself?
The manual release test answers this in under a minute, and it should always be your first move. A garage door opener not working tells you almost nothing on its own, so the first job is separating the motor from the door it lifts.
With the door fully closed, pull the emergency release cord hanging from the trolley, then lift the door by hand.
A door in good shape glides up with light effort and stays roughly where you leave it. That points at the opener. If the door feels enormously heavy, drops, or grinds in the tracks, the fault is in the springs, cables, or tracks. That is why a door that will not open and one that will not close so often have nothing to do with the motor.
Never pull that cord while the door is open. A door with a broken spring can drop with enough force to cause serious injury.
Why Is Your Garage Door Opener Not Working?
Most garage door opener failures come down to lost power, lost programming, or a blocked safety sensor. With the door confirmed healthy, match your symptom below and read the section it points to.
| What You See or Hear | Where to Look |
|---|---|
| No lights, no sound, no response | Power at the outlet, GFCI, or breaker |
| Motor runs, door does not move | Trolley in bypass, or a stripped drive gear |
| Wall button works, remote does not | Dead battery or erased programming |
| Door starts down, then reverses | Blocked or misaligned photo eyes |
| One click, then silence | Failing capacitor or logic board |
The Opener Has No Power
Openers plug into a ceiling outlet that nobody looks at for years. A tripped breaker, a bumped plug, or a ground fault circuit interrupter (GFCI) that quietly kicked out leaves the unit completely dead.
- Outlet. Test the receptacle with a lamp or charger.
- GFCI outlet. Press reset, and check other outlets on the circuit, since garage receptacles are often daisy chained.
- Breaker. Look for one sitting halfway between on and off, the classic sign of a trip.
The Remote or Keypad Has Lost Its Code
If the wall button works and the remote does not, the motor is fine and the radio link is broken. Coin cell batteries fade gradually, so range shrinks well before the remote quits.
- Battery. Replace it with the exact type printed inside the case and wipe the contacts clean.
- Programming. A surge can wipe stored codes, which means the remote has to be paired again.
- Interference. LED shop lights shorten range, so retest standing directly under the opener.
The Safety Sensors Are Blocking the Close Cycle
Every residential opener sold in the United States since 1993 carries external entrapment protection, almost always a pair of photo eyes near the floor. Break that beam and the opener refuses to close, often flashing its lights to say so.
- Lenses. Wipe both with a dry cloth, since dust, frost, and cobwebs all scatter the beam.
- Alignment. Both indicator lights should burn steady rather than flicker, and a bumped bracket is the usual culprit.
- Wiring. A staple through the sensor wire kills the circuit even when the lenses look perfect.
The Lock Feature on the Wall Control Is On
Most wall consoles have a lock or vacation button that disables every remote while the wall button keeps working. It is easy to press by accident, and it mimics a failed receiver exactly. Look for a blinking light on the console, hold the lock button for a few seconds, then test a remote.
The Trolley Is Still Disconnected
If the motor runs a full cycle and the door never moves, the trolley is probably still in bypass mode from the last time someone pulled the release cord. Close the door fully, pull the cord back toward the opener, then run the unit. It should click into the carriage on the next pass.
The Drive Gear, Belt, or Chain Has Failed
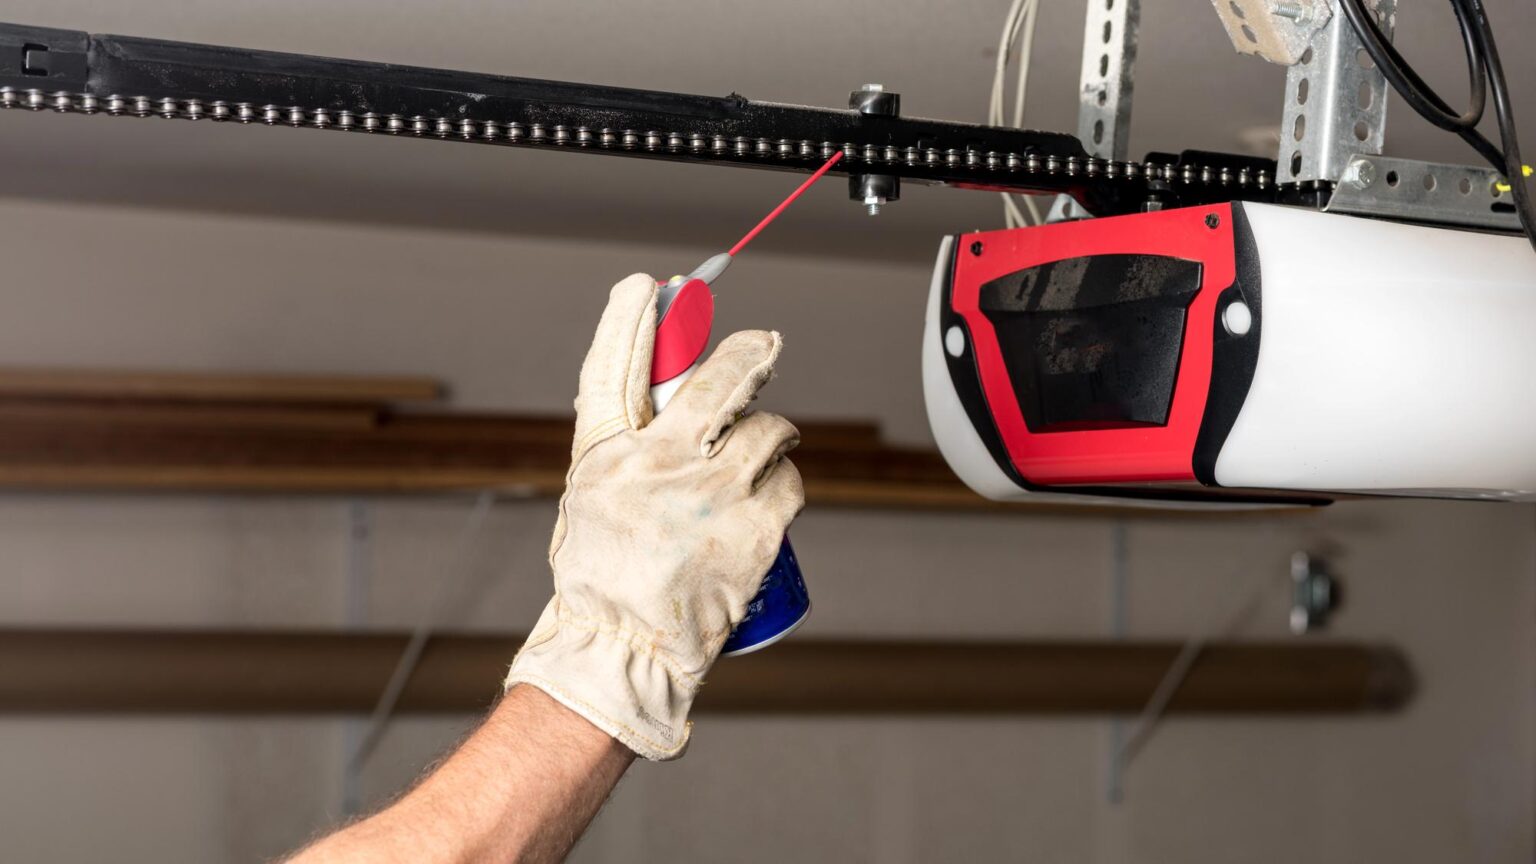
Grinding with no door movement, and the trolley clearly connected, usually means the plastic drive gear inside the motor housing has stripped. Chain drive units wear this part down over years of use.
- Grinding. Points to a stripped gear or worn sprocket, and running the unit anyway makes the damage worse.
- Slapping. Suggests a chain gone slack that needs tensioning.
- Burning smell. Means unplug the opener immediately and stop testing.
The Logic Board or Capacitor Has Failed
When the opener clicks once and goes silent, or the lights work but the motor never engages, the fault is electrical. Board-level repair requires the right part for your exact model, and on an aging unit, that part often costs nearly as much as a new opener.
If none of these bring the opener back, the fault lies within the motor head, where professional diagnosis takes over.
How Do You Reset a Garage Door Opener?
You reset a garage door opener by unplugging it for about 30 seconds, or by holding the LEARN button until the indicator goes out to erase every paired device.
Resetting means one of three different things, so start with the least destructive option.
| Reset Type | What It Does | When to Use It |
|---|---|---|
| Power cycle | Reboots the board without erasing anything | Erratic behavior, frozen lights, or no response at all |
| Memory erase | Clears every paired remote, keypad, vehicle button, and app link | Remotes misbehaving after a surge, or you just moved in |
| Travel and force reset | Re-teaches the opener where the floor is and how hard to push | The door stops short, bounces back, or will not seal |
Openers built since the mid-1990s have a LEARN or program button on the back or side of the motor head, sometimes behind the light lens. Older units use fixed DIP switches instead, matched by hand to the remote. After an erase, press the button once and press your remote within 30 seconds to pair again.
A memory erase also wipes your keypad, vehicle buttons, and any app pairing, so reprogram everything in one session. A reset fixes programming faults only, so if the door still will not move afterward, the problem was always mechanical or electrical.
Common Garage Door Problems and How to Fix Them
What to Check When a LiftMaster Garage Door Opener Is Not Working
LiftMaster units report their own faults, so read that before pulling any covers. The LED beside the LEARN button, or the up and down arrows on newer models, flashes a repeating pattern tied to a specific problem.
Patterns differ by model, so look yours up on the Chamberlain Group support site using the model number from the motor housing label.
- LEARN button color. The color identifies the radio generation, which determines what replacement remotes will pair with the unit.
- Security plus 2.0 pairing. Newer openers change the access code on every press, so an old remote will not resume working after a memory erase.
- App versus hardware. If the myQ app cannot reach the opener but the wall button still runs the door, the problem is your network rather than the opener.
None of this needs a LiftMaster specialist. Our technicians service every major opener brand, LiftMaster included.
Garage Door Opener Safety Checks You Should Not Skip
Two tests separate a working opener from a safe one. Run both after any repair, and monthly otherwise.
The first is the photo eye test. Start the door closing, then break the beam with a broom handle. The door should stop and return to the fully open position.
The Door and Access Systems Manufacturers Association specifies a beam mounted “no higher than six (6) inches above the garage floor,” so check that height too.
The second is the reversal test. LiftMaster’s safety guidance suggests laying an object at least 1.5 inches tall in the door’s path and pressing close, and the door should reverse on contact. The CPSC puts the frequency plainly: “the reversing feature should then be tested monthly.”
An opener predating 1993 was built before entrapment protection became a federal requirement, so replacement beats repair.
When Should You Call a Professional for Garage Door Opener Repair?
Call a technician the moment the job involves the motor’s internals, high-tension hardware, or wiring you cannot trace.
- Burning smell or smoke. Unplug the unit first, because this points to a failing motor or board.
- Grinding under load. Running a stripped gear takes the sprocket and rail with it.
- A door that will not stay balanced. Spring and cable work is the most dangerous garage door repair and is never a homeowner task.
- Repeated sensor faults. Clean, aligned sensors that still misbehave usually mean a wiring or board problem.
Each of these needs parts and training rather than another round of testing, so book a technician instead.
How Raynor Door Authority Gets Your Garage Door Opener Working Again
Opener problems rarely stay tidy. A door drifting out of balance will burn out an opener that was healthy last year, which is why testing the two separately matters. Raynor Door Authority has been doing that work for more than 40 years across the United States and Canada.
- Certified technicians. Our teams train on safety standards and entrapment protection, not just on swapping parts.
- Emergency response. Round-the-clock repair is available when a dead opener leaves your home exposed overnight.
- Practical repair or replacement advice. When a unit is past saving we say so, then walk you through current opener options with a clear quote up front.
What You Should Do Next
A garage door opener not working today is usually a small fix. Left alone, it becomes a strained door and a burned-out motor. Here is where to start.
- Run the manual release test to confirm whether the opener or the door is at fault.
- Check the outlet, GFCI, and breaker, then power cycle the opener for 30 seconds.
- Replace the remote battery, clean the photo eyes, and check the console lock.
- If the motor runs without moving the door, or the unit clicks and goes silent, stop.
- Contact your nearest Raynor Door Authority location to schedule a diagnostic visit.